How to Set Gain Structure on a Mixing Console: The Right Way to Avoid Noise and Clipping
| KEY FACTSGain structure is the process of setting correct signal levels at every stage of your signal chain from source to output.Poor gain structure is responsible for the majority of noise, distortion, and feedback problems in live and studio audio.The goal is a strong, clean signal at every stage without pushing any single device into clipping.This guide walks through the process step by step for both analogue and digital mixing consoles.Getting gain structure right is a one time setup that makes everything else in your mix easier. |
You have just set up your PA system for a show. The band is ready, the crowd is waiting, and when you push the fader up to get some volume, you are greeted with a wall of noise, a muddy low end, or a harsh crackle that makes the whole system sound cheap. You adjust the fader. Nothing improves. You boost the EQ. Things get worse. What is happening?
In almost every case, the root cause is gain structure. It is the foundation of every good audio setup, and it is also the thing that most people either skip entirely or get wrong. After seven years working professionally in live sound across concerts, churches, and corporate events, I can tell you with certainty that fixing gain structure alone solves the majority of problems that engineers blame on bad equipment, bad acoustics, or bad luck.
This guide explains what gain structure is, why it matters, and how to set it correctly from the very first stage of your signal chain, all the way to your speaker outputs. I will cover both analogue and digital consoles because the principles are the same, even though the process looks slightly different.
What Is Gain Structure and Why Does It Matter?
Gain structure refers to the management of signal levels at every stage through which your audio passes. In a live sound context, that means from the microphone or instrument all the way through the preamp, the mixer channel, the auxiliary outputs, the main bus, and finally the amplifier and speakers.
Every device in your signal chain has an optimal operating range. Below this range, the signal is too quiet and noise from the device itself becomes audible, giving you that low hiss you cannot seem to EQ away. Above this range, the device clips, introducing distortion that sounds harsh, raspy, or crackling.
The goal of gain structure is simple to state but requires discipline to execute: get every device operating comfortably in its optimal range, with enough level that noise is not a problem, but with enough headroom that peaks do not cause clipping anywhere in the chain.
Poor gain structure creates a chain reaction of problems: a signal that is too quiet at one stage gets boosted at the next, which amplifies any noise that entered. A signal that clips at one stage sends distorted audio to every stage downstream, and no amount of EQ or processing can fix distortion that has already occurred.
The Signal Flow You Need to Understand
Before you touch a single knob, you need to understand the path your signal travels. On a typical live sound console, audio flows in this order:
- Microphone or instrument input into the XLR or jack socket on the channel
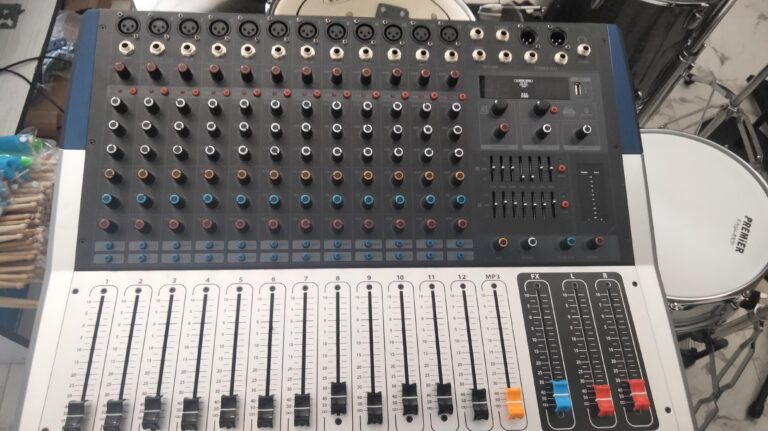
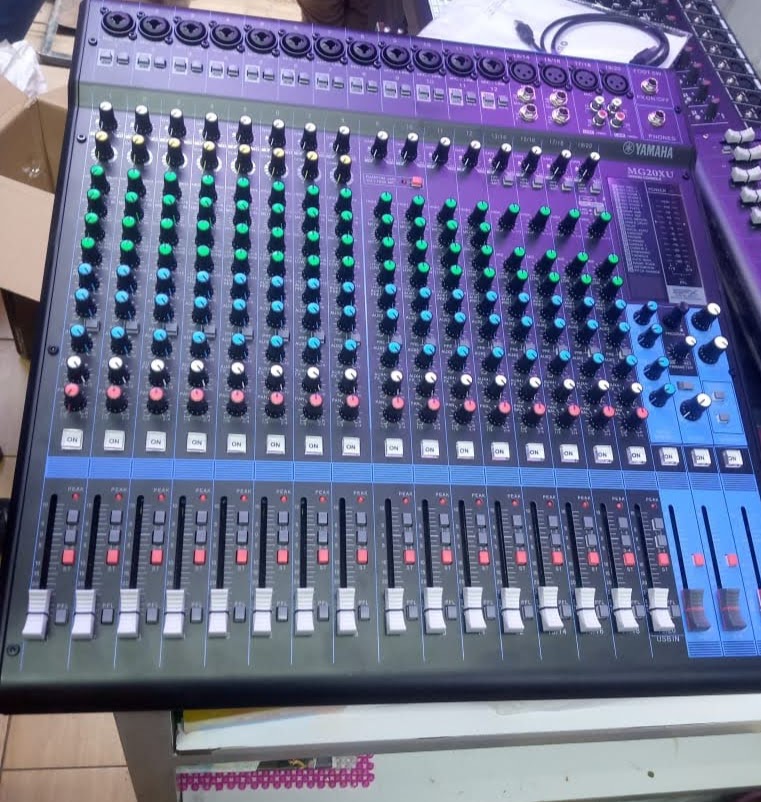
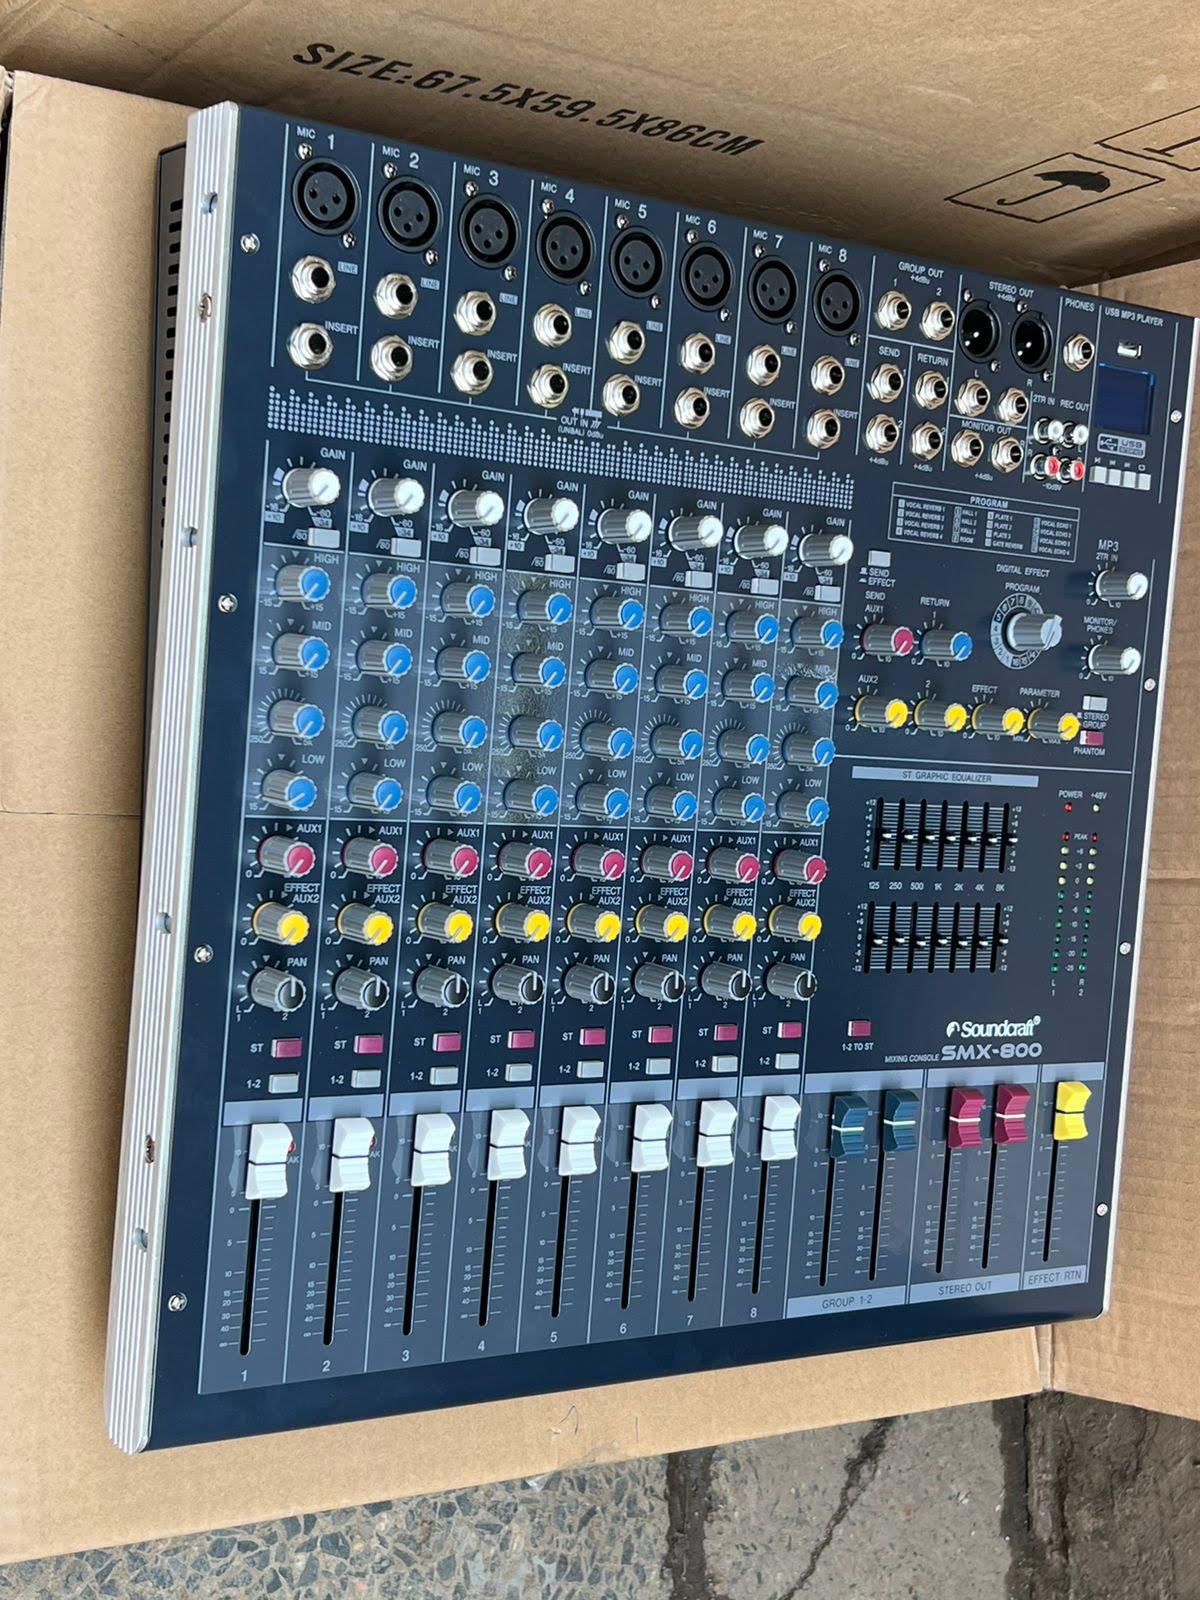
- Preamp gain (also called trim or input gain), which sets the level entering the console
- Channel processing including EQ, compression, and gates
- Channel fader which controls how much of that channel goes into the bus
- Auxiliary sends which route signal to monitor mixes or effects returns
- Main bus where all channel signals combine
- Master fader which controls the overall output level from the console
- Amplifier input which receives the console’s output and amplifies it to drive speakers
A problem at any of these stages will be passed downstream. Gain structure means getting each stage right before moving to the next.
Step 1: Set Your Preamp Gain Correctly
The preamp gain is the most important control in your entire signal chain. Set it wrong and everything downstream is compromised before you have even touched the fader. The preamp’s job is to take the very small signal from a microphone and bring it up to a usable line level that the rest of the console can work with cleanly.
How to Set Preamp Gain on an Analogue Console
Start with the channel fader at unity gain (which is the 0 dB mark, usually around two-thirds of the way up the fader). The master fader should also be at unity. With these faders at unity, your preamp gain control directly determines the level entering the console.
Ask your source to perform at their normal operating level. A vocalist should sing at the same volume they will use during the show, not a quiet test tone. A drummer should play at normal show intensity.
Watch the channel’s signal level meter as they perform. You want the signal peaks to be reaching comfortably into the green and occasionally touching amber on the loudest moments. The red clip indicator should never light. If you cannot get a healthy signal without the clip light activating, you need to either move the microphone closer to the source or address the source level before continuing.
The most common mistake at this stage is setting the preamp gain too low because the engineer is nervous about clipping. A signal that peaks only in the bottom third of the meter is too quiet. You will compensate by pushing the fader up, which only raises the noise floor along with the signal. Set the gain so the signal is healthy, then let the fader do its job of blending.
How to Set Preamp Gain on a Digital Console
The principle is identical on a digital console, but the visual feedback is different. Most digital consoles display level meters in dBFS (decibels relative to full scale). The maximum usable level is 0 dBFS.
On a digital console, aim for signal peaks to land around minus 18 to minus 12 dBFS on the channel input meter during normal performance. This gives you substantial headroom above the peaks before the digital ceiling at 0 dBFS, while keeping the signal well above the noise floor.
Do not be tempted to set digital preamp gain so that the signal peaks close to 0 dBFS. Unlike analogue equipment, which can sometimes be pushed gently above its rated level with a degree of grace, digital clipping is immediate and extremely unpleasant. The headroom you leave here is not wasted, it is insurance.
Step 2: Position Your Channel Faders at Unity
Once your preamp gain is set correctly, the channel fader should live at or near unity gain (0 dB) during your initial setup. This is important because unity gain means the fader is neither adding nor subtracting level from the signal coming through.
If you find yourself needing to push a channel fader significantly above unity to get enough level in the mix, that is a sign that your preamp gain is too low. Go back and increase the input gain rather than compensating with the fader.
Conversely, if a channel sounds loud enough with the fader sitting well below unity, your preamp gain is too hot. Reduce the input gain and bring the fader back up toward unity. The fader is for mixing and balancing relative to other channels. It should not be doing the job of the preamp gain control.
Step 3: Set the Master Fader at Unity
Your master fader controls the output level from the console to your amplifiers. In professional practice, the master fader lives at unity gain (0 dB) during a show. It is not a volume control you push up when you want things louder. It is a calibration reference point.
If you cannot achieve the volume you need from your PA system with the master fader at unity, the answer is to increase the input sensitivity setting on your amplifiers, not to push the master fader above unity. Pushing the master above unity means you are asking the console’s output stage to work harder than it was designed to, and you are sacrificing headroom on the main bus.
There is one legitimate use of the master fader below unity: as a safety control at the very start and end of a show, or when you need to smoothly reduce the entire system level quickly during an emergency.
Step 4: Set Your Amplifier Input Sensitivity Correctly
This step is where most systems are let down, because many engineers focus entirely on the mixer and neglect the amplifier. The amplifier’s input sensitivity control (sometimes labelled as gain or level) sets how much input signal from the console is needed to drive the amplifier to full output.
Here is the correct way to calibrate it:
- Set your console to produce a pink noise signal or a 1 kHz sine wave at 0 dB on the master output meter. If you do not have a signal generator, play music through the system at a level where the main output meter peaks around 0 dB.
- Turn the amplifier’s input sensitivity all the way down. This means turning the gain control counterclockwise to minimum.
- Slowly increase the amplifier’s input sensitivity until the amplifier’s clip light just begins to flicker on the loudest peaks. Then back it off slightly so the clip light is not activating under normal programme material.
The result: when your console outputs at its maximum clean level (0 dB on the master output), the amplifier is being driven to its maximum clean output. Every decibel of headroom on the console translates directly to headroom in the amplifier. This is a calibrated system.
If your amplifier has no clip indicator, use the speaker output as your guide. Drive the system with a steady signal and increase sensitivity until you begin to hear any hardness or distortion in the speaker sound, then back off.
Step 5: Check Your Auxiliary Outputs
Auxiliary outputs feed your monitor mixes and effects returns. The same gain structure principles apply here. Each auxiliary master output should be set at unity, and the individual aux send levels from each channel should be adjusted to create the monitor mix, not the aux master.
A very common mistake in monitor mixing is running auxiliary masters wide open and then sending very small amounts from the channels. This means the aux output is operating at a high level, trying to amplify a very small signal, maximising noise. Do the opposite. Keep aux masters at unity. Send generous levels from the channels into the aux, and let the master function as a trim rather than as a primary level control.
If you are using in-ear monitors, this is even more critical. A noisy aux output being fed directly into a performer’s ears is immediately and painfully obvious.
Step 6: Compression and Gate Settings in Gain Structure
If you are using compression on a channel, it becomes part of your gain structure because a compressor with high output gain can significantly raise the level coming out of that channel, potentially overloading the next stage in the chain.
Always check the output meter of a compressed channel rather than just the input meter. A compressor pulling down peaks by 6 dB and then applying 6 dB of makeup gain is delivering approximately the same peak level as the uncompressed signal, but with a raised average level. That raised average level is what you need to account for in your gain structure.
Similarly, a noise gate that is too aggressively set can cause pumping artefacts that spike the level when it opens. Set gates conservatively and listen carefully to the transitions between gate open and gate closed states.
Common Gain Structure Mistakes and How to Avoid Them
- Running preamp gains too low and compensating with faders: As described above, this raises the noise floor. Set the gain correctly at the preamp stage.
- Running the master fader above unity: This sacrifices the console’s output headroom. Use amplifier sensitivity to calibrate output level instead.
- Setting all channels at equal fader levels: Different sources require different levels in the mix. Use the preamp gain to standardise input levels and the fader to create the artistic balance between channels.
- Ignoring clip lights: Every clip light in your signal chain is telling you something important. A clip light on a channel input means your preamp gain is too hot. On a bus, it means channels are combining to exceed the bus headroom. On an amplifier, it means the console output is too hot or the amplifier sensitivity is set too high.
- Not rechecking gain structure after adding effects: A reverb return that is set too high can push the main bus into clipping. A compressor with excessive makeup gain can overload the channel. Always check levels after adding any processing.
Gain Structure for Digital Consoles: A Quick Reference
Digital consoles behave the same way as analogue ones in principle, but the metering is different and the consequences of clipping are harsher. Here is a simple reference for digital console operation:
| Stage | Target Level (dBFS) | What Happens if Wrong |
| Channel input (preamp gain) | Peaks at -18 to -12 dBFS | Too low: noise. Too high: digital clipping |
| Post-fader channel level | Peaks at -18 to -12 dBFS | Fader above unity compensating for low gain |
| Main bus output | Peaks at -18 to -6 dBFS | Clipping here goes directly to amplifier |
| Amplifier input sensitivity | Calibrated to console 0 dB output | Undersensitive: low volume. Oversensitive: clipping amp |
| Aux output masters | At unity (0 dBFS) | High aux master with low sends: noisy monitors |
How Good Gain Structure Makes Everything Else Easier
When gain structure is set correctly, you will notice several things almost immediately. The noise floor of your system drops. Feedback becomes less likely because you are not having to push the system beyond its comfortable operating level to get sufficient volume. Your EQ choices start making sense because you are cutting and boosting a clean signal rather than trying to sculpt noise and distortion.
Perhaps most importantly, the mix becomes more predictable. When every channel is operating in its optimal range, the relationship between fader positions and perceived level is consistent. You can make mixing decisions by ear rather than constantly chasing noise and distortion problems.
Taking 20 minutes before every show to systematically set gain structure correctly is one of the highest-value investments of time you can make as a live sound engineer. It is not glamorous, but it is the difference between a system that fights you all night and one that lets you focus on making the music sound good.
Frequently Asked Questions
What is the difference between gain and volume?
Gain refers to amplification applied at the input stage, specifically the preamp gain control that brings the source signal up to a usable level. Volume typically refers to the fader controls that adjust the level of a signal that is already at line level within the console. Gain affects the quality of the signal entering the system. Volume affects how much of that signal you hear in the mix.
Should I set the gain structure differently for studio recording versus live sound?
The principles are the same, but the targets differ slightly. In studio recording with 24-bit digital equipment, you have enormous dynamic range available and can record conservatively at peaks of minus 18 to minus 12 dBFS without any penalty. In live sound, you are managing a real-time system with less margin for error, and the consequences of poor gain structure are heard by the audience immediately. In both cases, the goal is the same: optimal signal level at every stage.
Why does my system still sound noisy even after setting gain structure correctly?
A few possible causes. If the noise is present even with no inputs connected, you may have a ground loop in your system, creating a hum or buzz that is independent of the gain structure. If the noise appears on specific channels, suspect faulty cables, a damaged microphone capsule, or a defective preamp on that channel. Gain structure will not fix noise that is introduced by a fault in the system; it will only ensure you are not amplifying that noise more than necessary.
How often should I reset my gain structure?
Ideally, you should run through the gain structure procedure every time you set up the system, because sources change, rooms change, and the output levels from different microphones and instruments vary. In a fixed installation where the same sources are used every week, gain structure settings from a well-executed initial setup can last for months. However, any time you add a new source, change a microphone, or notice the system sounds different from usual, checking the gain structure is the first diagnostic step.
Can I set gain structure by ear without using meters?
Experienced engineers can get close to the correct gain structure by ear, but meters provide information your ears cannot. A noise floor problem caused by low input gain is often masked by programme material until the music stops. Digital clipping can be almost imperceptible on programme material until it becomes severe. Use your meters as your primary reference and your ears as confirmation.